Adjustment Memo creation
Adjustment Memos are used to record changes in quantities of the merchandise if, for example, some of your store’s items have been stolen, damaged, found, or returned to another store.
To create an Adjustment Memo, in POS Pro:
-
Tap Adjustments in the app’s Home Screen navigation panel or in the fly-out More menu (the location of the button is defined by your custom settings).
-
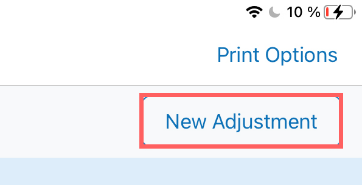
In the Adjustments area, tap New Adjustment at the top-right.
-
On tapping New Adjustment, select the required adjustment reason. Once the reason is selected, the Document tab of the created Adjustment Memo will open.
-
Tap Items at the top-right.

Initially, the Items tab contains no items. There are two ways you can add items to the list:
- scan the item’s barcode (preferred)

- enter the item’s UPC, PLU, CLU, or your item’s description in the Item Search field A
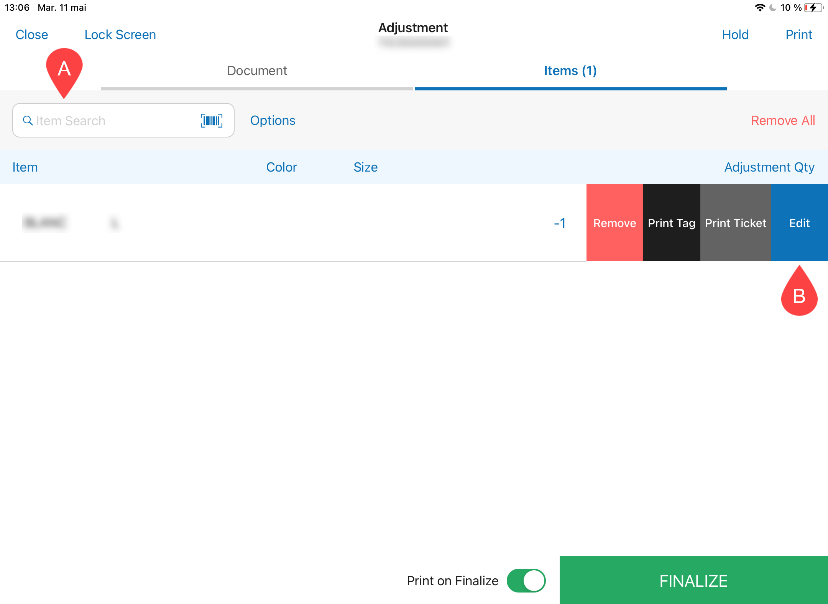
- To manually specify Adjustment Qty, swipe left the item’s row and tap Edit B . Once the quantity is indicated, it is possible to set the value to be positive or negative. To do so, in the Edit dialog, tap the +/- button on the numeric keyboard. Once done, tap Save.
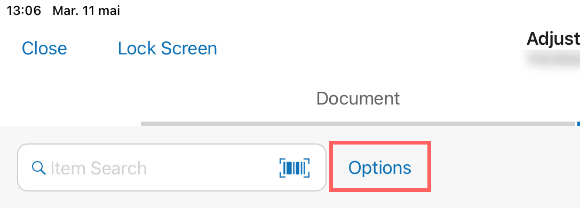
Alternatively, to set the item value to either positive or negative by default, tap the Options button next to the Search field. In the Default Item Value field of the Options dialog that opens, select the required option.
- If required, to print the Adjustment Memo, tap Print in the upper right corner.
Also, to automatically print the Adjustment Memo on finalizing, you can turn on the Print on Finalize switch at the bottom.
- Tap Finalize.