Sales Receipts
Orientation to Sales Receipts
In the Sales Receipts area of POS, it is possible to create new and manage finalized Sales Receipts.
- To open the Sales Receipts area, on the POS Home Screen, tap Sales Receipts. The Sales Receipts button is located either in the navigation panel at the bottom or in the More menu depending on your settings. On tapping, the Sales Receipts list view opens. The list view includes two tabs:
- On Hold: contains held Sales Receipts
- History: contains finalized Sales Receipts
-
To create a new Sales Receipt, tap New Sale A in the upper right corner.
-
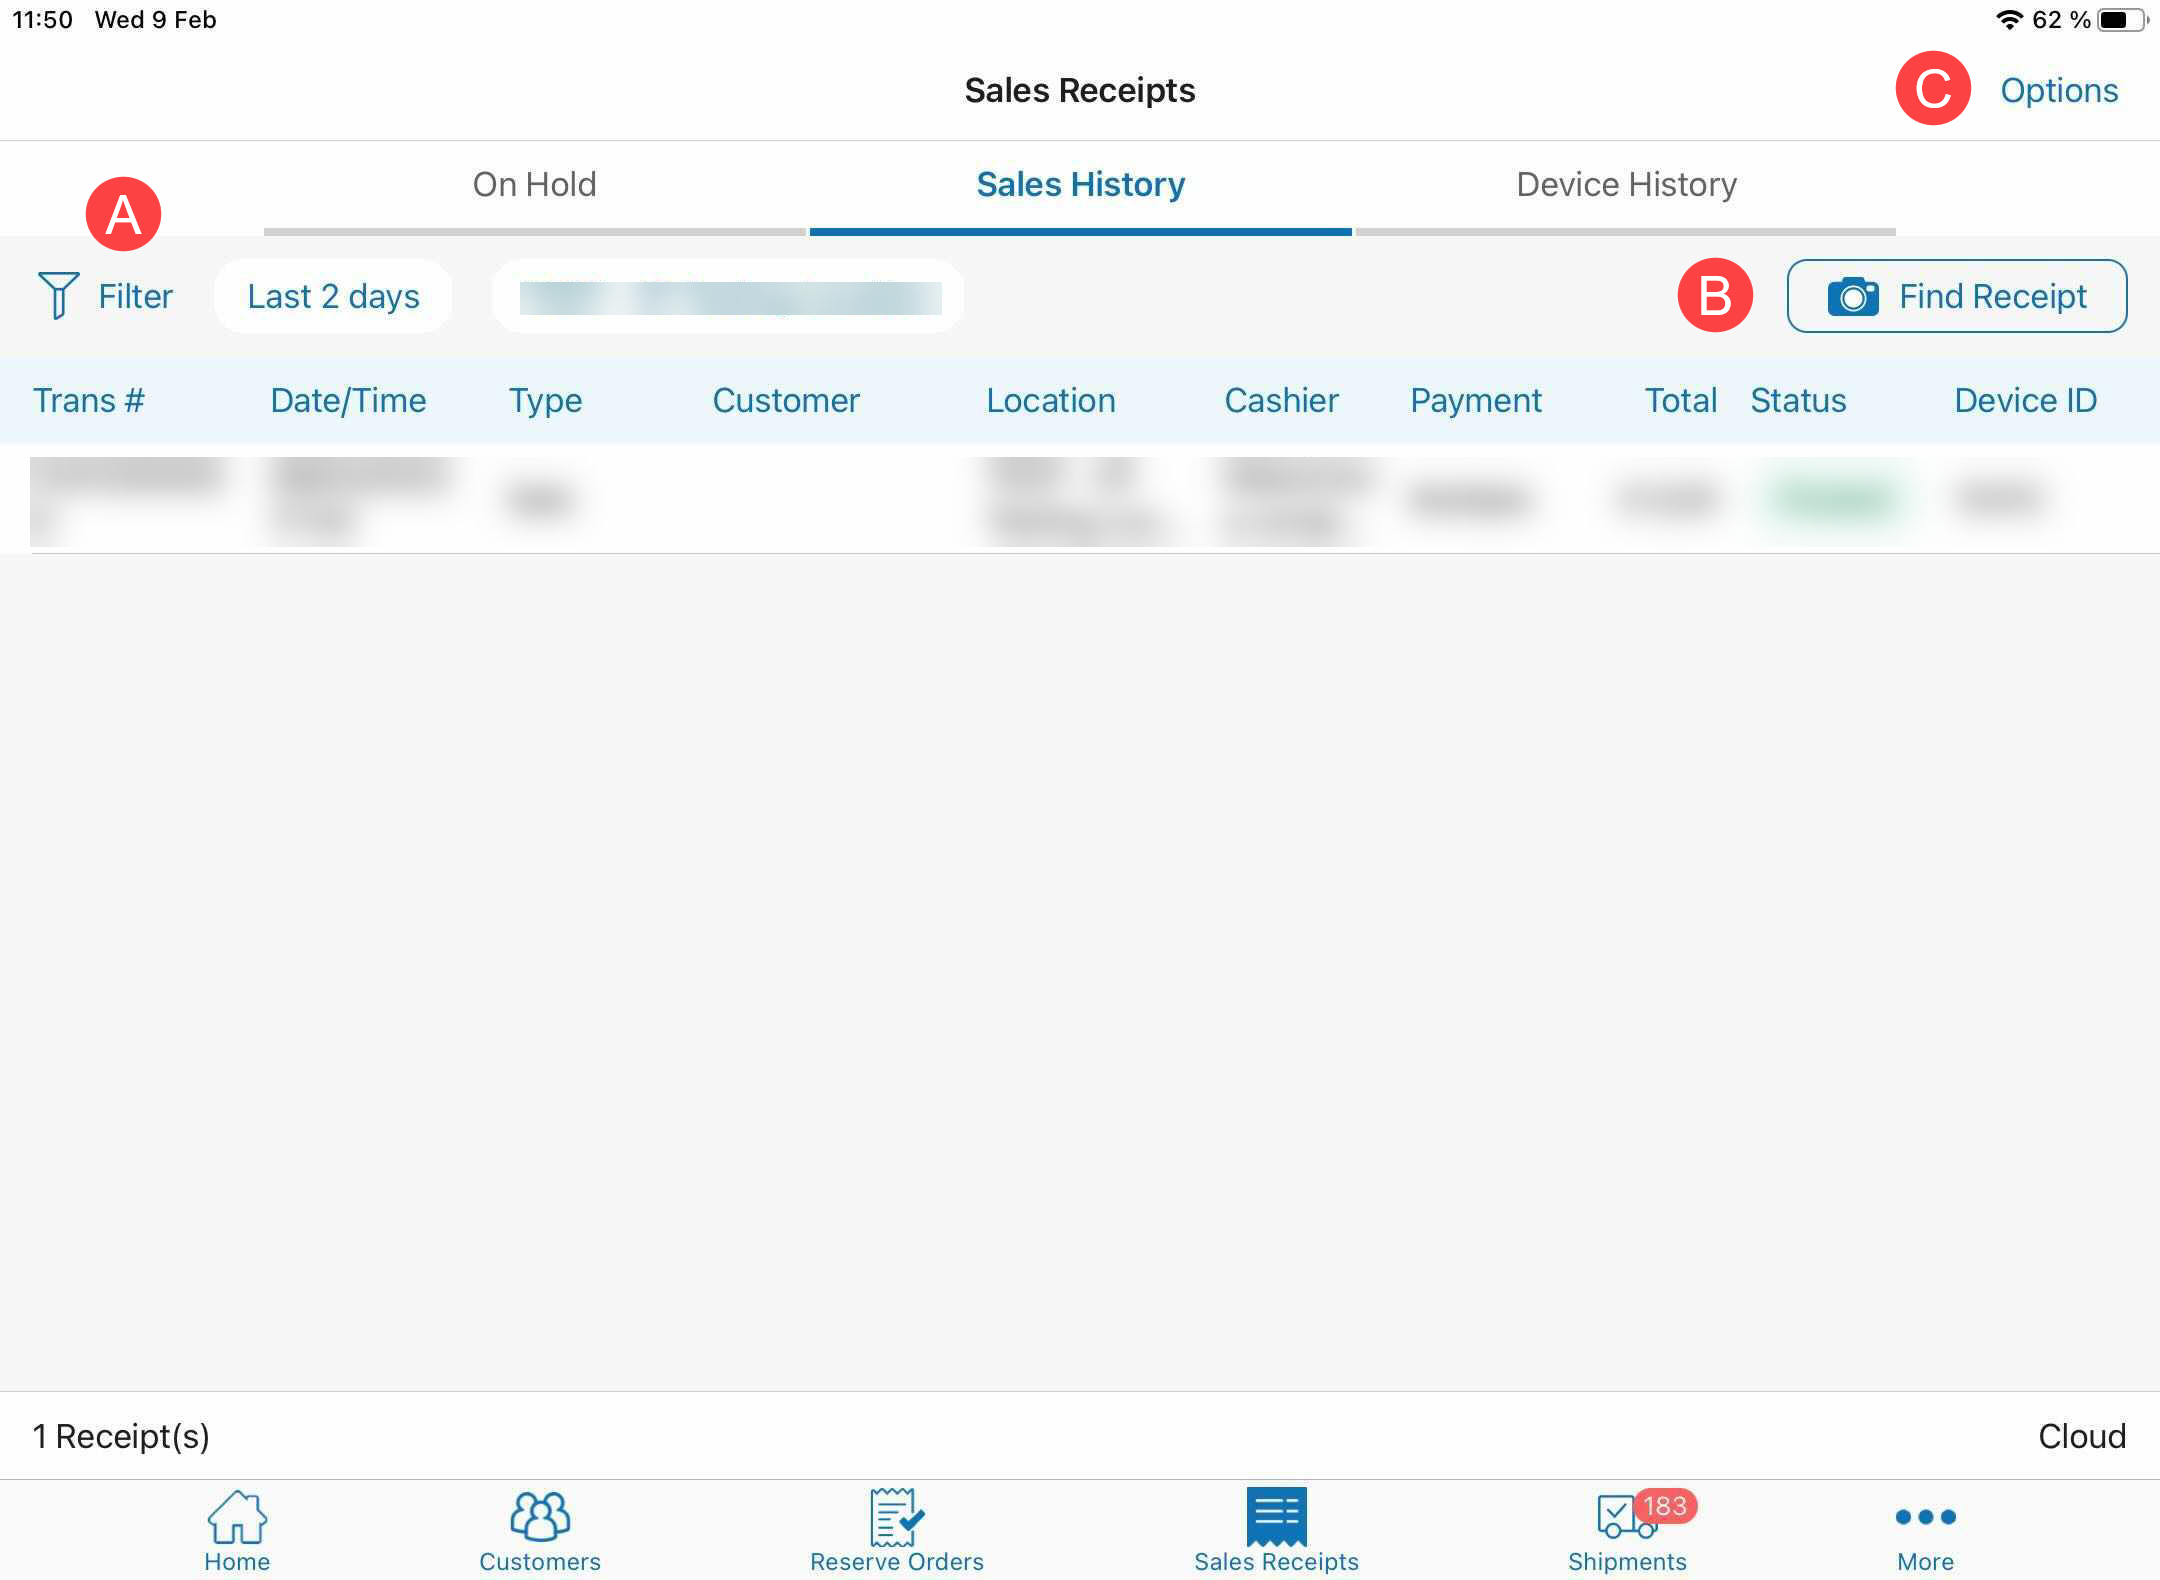
To search for Sales Receipts, use the Search field at the top-left B . To define by which field to search, tap All next to the search field.
Alternatively, to scan a Receipt, tap the barcode icon in the Search field.
-
To void/reverse or reprint a finalized Receipt, in the History tab, swipe left the required row and then select the required option C .
-
To configure the default printing settings for Sales Receipts, tap Options D in the upper right corner and then Printing Options.
Also, to open your cash drawer, tap Options and then Open Cash Drawer.
- To select the time span for which historical Sales Receipts will display, tap Filter next to the Search field.