Teamwork Commerce Doc Hub > User Documentation > POS > Quick Reference Guides > Shipments > Outgoing: Purchase Return
Outgoing: Purchase Return
Purchase Return (RET) is used to remove items from inventory for shipment back to the vendor.
To create a Purchase Return, in POS Pro:
- Tap Shipments in the app’s Home Screen navigation panel or in the fly-out More menu (the location of the button is defined by your custom settings).
-
In Shipments, tap Outgoing at the top of the screen.
-
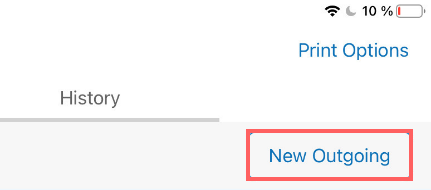
In Outgoing, tap New Outgoing.
-
In the New Outgoing dialog that opens, select Purchase Return in the Type field. Then, select the vendor and tap Create in the upper right corner.

-
Once the Purchase Return has been created, its Document tab will display. In that tab, indicate the required ship method and tracking number.
-
Tap Items at the top-right of the screen.

- Initially, the Items tab contains no items. There are two ways you can add items to the list:
- scan the item’s barcode (preferred)
- in the Item Search field, enter the item’s UPC, PLU, CLU, or your item’s description
- You can scan each item (multiple quantities), or once an item has been added, you can manually configure its Return Qty. To do so, swipe the required item row left and tap Edit.

-
If necessary to print a Purchase Receipt or tags for all items, tap Print in the upper right corner.
-
Also, to automatically print any of the above on finalizing, turn the Print on Finalize switch on.

- Tap Finalize.